Out with the old and in with the new. That's what they always say right? This is exactly what I found myself thinking over the past few weeks. After dropping the "Miles" in "Miles David" (too many people thought I was Miles...) and deciding to just use "David Peck," I realized that the showroom needed a well deserved facelift. I was determined to make these changes happen as quickly as possible and on a budget (favorite word ever...not). This two-day room revamp was definitely one for the books and super easy! Here's how we did it:
The Plan
The first step coming up with an idea. I knew we wanted to make the showroom and website look as cohesive as possible and had thought about doing some sort of paint treatment. About that time, I stumbled upon some removable wall murals on the art website, Society 6 via some bloggers I follow - Young House Love. After heading over to check out some of their wallpaper options, I selected two similarly colored prints for our sitting area and back wall. We then measured the two walls we wanted to spice up and went to Home Depot to get a complimentary shade of metallic gold paint
What you will need
- Smoothing tool and sharp craft knife (you can also use this kit)
- Scissors
- Ruler
- Pen/Pencil
- Ladder
- Level
- Removable wallpaper
- Paint (optional)
Someone Call HGTV
We first started our masterpiece by painting the metallic gold paint around the entire area surrounding the square that we had plotted since our murals were slightly smaller than our walls. After four coats of what seemed to be never ending metallic paint (I've found that metallic paint looks best after multiple coats, so be sure to get enough paint), we finished the sitting room area wall and focused our efforts on to the back wall of the showroom and finished up with some more coats of metallic. We wrapped up day one having used up all the paint and a clear cut vision for putting up the murals the next day.
On a Bed of Roses
Day two revolved around the wallpaper. The first step was getting each panel in the correct order. Next, we began to put each of the individual panels on the wall in order. The most difficult part is getting started and making sure that you're on a straight line. Once you get going, the process is pretty quick. Each mural only took a couple of hours to hang.
I would definitely have a buddy or 2 to help. It was the quickest when we had 3 people to hold, align, and smooth the paper onto wall, but 2 people can easily do it. Before moving on to sticking the next portion of the panel on to the wall, we were sure to check our accuracy with the level. Making sure every inch of the print was bubble free (using our hands and the smoothing tool) the was the last step in applying the removable wallpaper.
Here's a great video that explains the process even further:

Paint touch ups after the mural was installed


Finally seeing my vision come together before my eyes made the work completely worth it. Tying together all of my favorite colors made the space feel more cohesive and inviting. Though doing redecorating projects may sometimes feel extremely unimportant compared to other items on our daily to do lists, it's important to give into your creativity and make a space that inspired you. Little projects like this are perfect for any room in your house; whether it be your in-home-office or nursery, spice up your life!
Here's a link to each of the murals that I used:
Part of the reason I chose these murals was because I wanted to test out the quality of the product before designing my own. Yes, that's right! You can now buy my prints to hang on your wall. The quality is FANTASTIC. They are printed on a heavy, fabric like backing that is easy to manipulate. The selections at Society 6 come in standard formats: 8'x8' or 12'x8' which work just great. However, if you have a specific wall size in mind, we can make that happen. Just send us an email (hello@shopdavidpeck.com) or call us to get a quote. The options are limitless!
I've started out with these four designs. Let me know what you think!
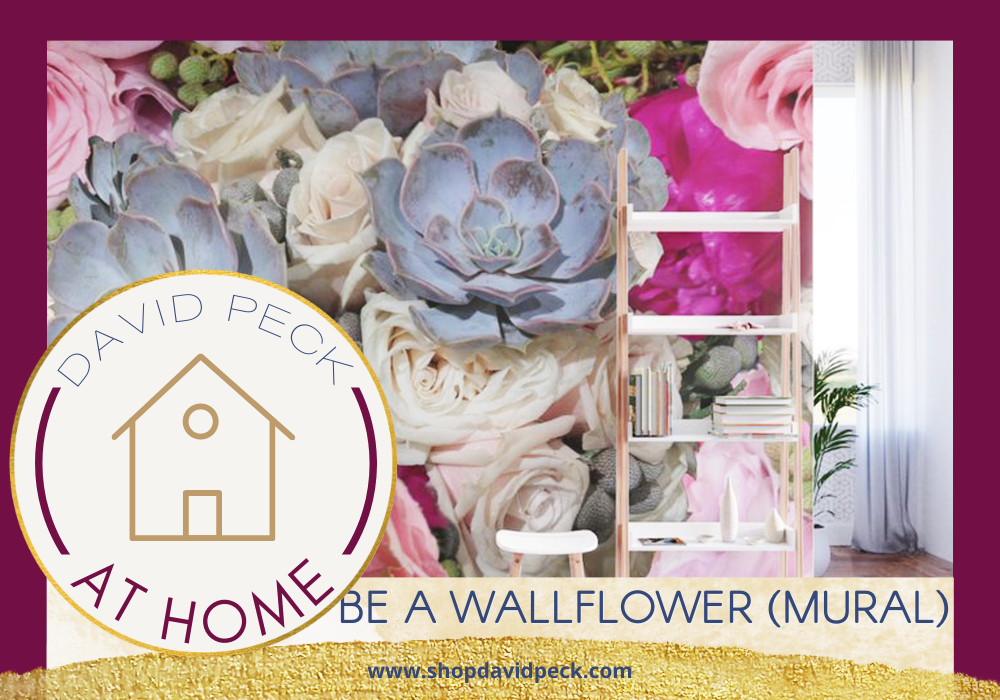
Succulent Floral
I love arranging flowers, so I took a photo of one of my arrangements and digitally manipulated it so that it was larger than life. Who wouldn't want massive florals?
Paris Geography Wall Mural
I took this photo as I approached landing in Paris when I lived there. I loved how the colors of the clouds mingled with the landscape to form an abstract painted quality.
Watercolor New York Harbor Wall Mural
I took this photo from Governor's Island looking out on the harbor towards Liberty island. There, in the still waters, there was a replica of a ship that might have carried immigrants to America over 100 years ago.
Crop Circles Wall Mural (there are 2 versions of this one)
I took this photo flying over the western Texas and eastern New Mexico landscape. I have family in Roswell, so the idea of Crop Circles seemed especially funny (and beautiful) to me.
Share this post with someone who wants to get their creativity flowing! AND let me know how you would use one of these murals in your own space!

This post contains affiliate links.








Aubrie Layne
June 28, 2019
I love it! Been learning about doing that too! I totally need this in my life now!