The last week has definitely turned our world upside down. We went from making gala gowns and wedding dresses to mask makers in an instant.
I'll be the first to admit, I didn't think that we could really help make masks. Not that we aren't capable of sewing them, but I had a concern that what we could make wouldn't help stop the spread of the virus an may even cause people to be more complacent when they wore them because they would think they are more protected than they actually were.

Long story short, the need became too great, and I knew we had to at least try to do something that could make a difference. After loads of research (AKA Google) and many conflicting reports, we came up with this design. It's made from non-woven polypropylene fabric. This fabric should have better protection than just plain cotton, and even though it's not hospital grade, it's the closest thing we could find that's readily available and can be used for mass production.
These are made of non-woven polypropylene fabric. They have a pocket inside into which a HEPA filter can be inserted, a nose wire, and elastic at the chin for an optimal fit. They are designed to fit over an existing #N95 mask. Hopefully, it will help prolong the use of these masks by medical professionals.

If mask-making isn't for you, you can donate to help support our efforts HERE.
This 10 step tutorial should help you should you wish to make masks for yourself or in bulk for healthcare workers. We've tried to simplify it as much as possible for quick and easy production while maintaining an optimal fit. The mask pattern is one size and can be adjusted by tying a knot in the ear elastic. You can also scale up or down using a copy machine.
If you are mass producing, we estimate that you can cut 4 masks out of 18" of 4' wide fabric.
Click here to download the PDF pattern
Click here for a PDS (CAD) version
Materials:
- Non-woven Polypropylene Fabric(not waterproof, this is VERY important)
- Pipe Cleaners (6" for every mask. One 12" pipe cleaner makes 2 masks)
- 1/4" Braided Elastic (13.5" per mask: Two 6" pieces for ears, One 1.5" piece for the chin)
- Thread and a Sewing Machine
NOTE: Elastic has been sold out many places and might have May or June delivery date (double-check before you confirm your order), so you may have to search for this.
Step 1
Cut out your pattern pieces

Step 2
Sew all the center seams together

Step 3
Finger press the seam allowances to one side (do not use an iron as the fabric will melt!) and topstitch next to the seam line. This will help your mask have a smooth, round shape when finished

Step 4
Tack each 6" elastic piece to the sides of the front of the mask, 1/4" from the top and bottom edge.

Step 5
Overlap back bottom piece over the back top piece and sew to the side seams together.


Step 6
Sew Top and bottom seams
Step 7
Sew elastic in place at chin while stretching.

Step 8
Turn mask right side out.
Step 9
Topstich 1/4" (a generous 1/4") from the top edge for 3" on either side of the center seam.

Step 10
Bend 1/4" of one end of the pipe cleaner before inserting into the nose bridge channel that you just created.


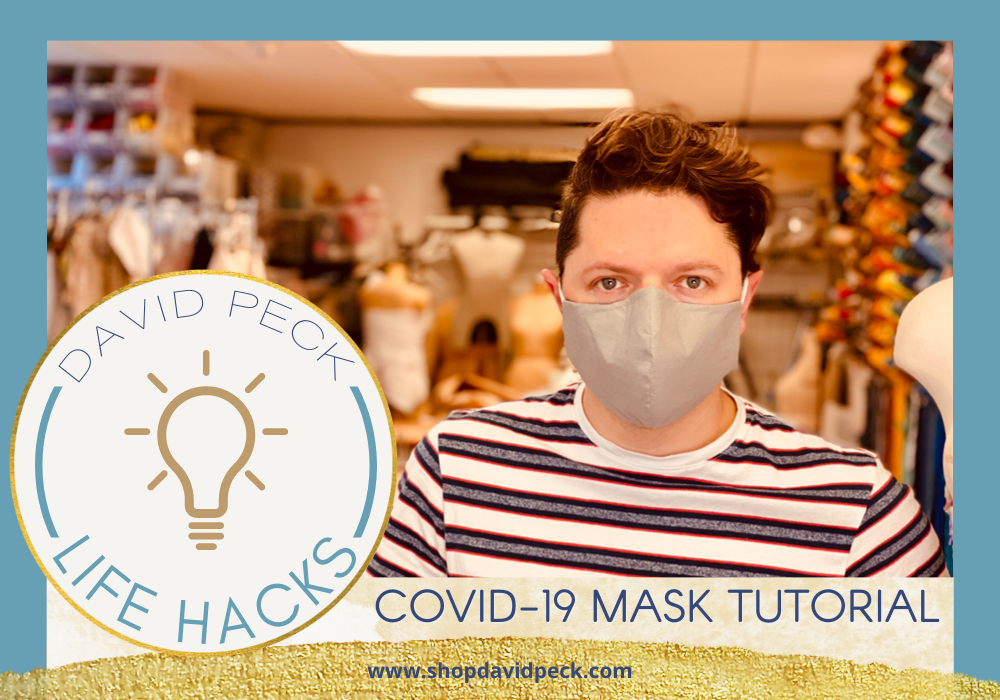
Here's a quick video I created that explains the steps as I sew the mask.









Shalanda
October 15, 2020
This is great David! Thanks for sharing!